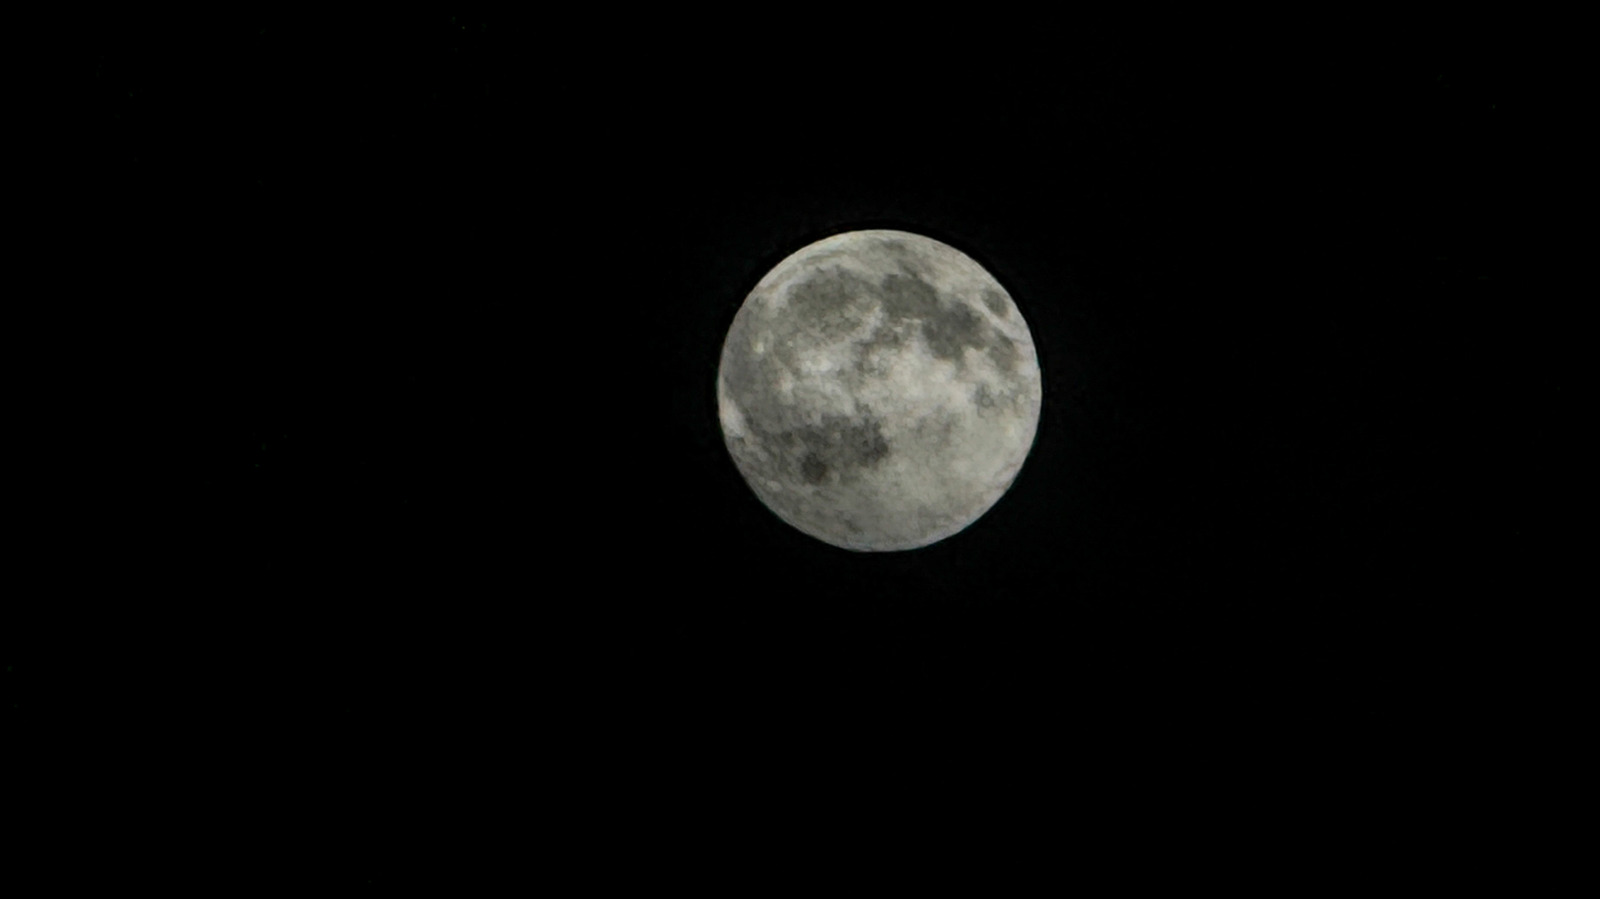
Trying to snap a picture of the moon with your iPhone can be an exercise in frustration. You frame it up and everything seems fine, but after clicking the shutter, your photo is either a ball of light with no detail or a blurred mess.
So what happened, and what can you do about it? Even with fancy AI algorithms, cameras can't break the laws of physics when shooting a bright object at night. And unlike some devices, iPhone cameras don't resort to trickery when taking lunar snaps, so the photo quality is entirely up to you and how you set the camera. Here's how to do it right.
Everyone wants their moon photos to be sharp and well exposed, showing all the craters and features you see with your naked eye. The challenge is that the Moon is very bright (it's illuminated by the Sun, after all) and the night sky is extremely dark. Your camera's exposure system always tries to average light, so it often overexposes to "brighten" the surrounding sky. As a result, the moon can often become overexposed and look like a textureless circle.
Your moon photos may also be blurry. This happens because when your iPhone tries to boost exposure, it must lower the shutter speed to 1/30th of a second or even lower. As a result, any hand shaking or other movement can blur the image, even with your iPhone's stabilization system.
Finally, you may find that the moon isn't large enough in your shots.
Source link